Showing posts with label Freebies. Show all posts

Sunday, August 14, 2011

Pretty Petals pattern

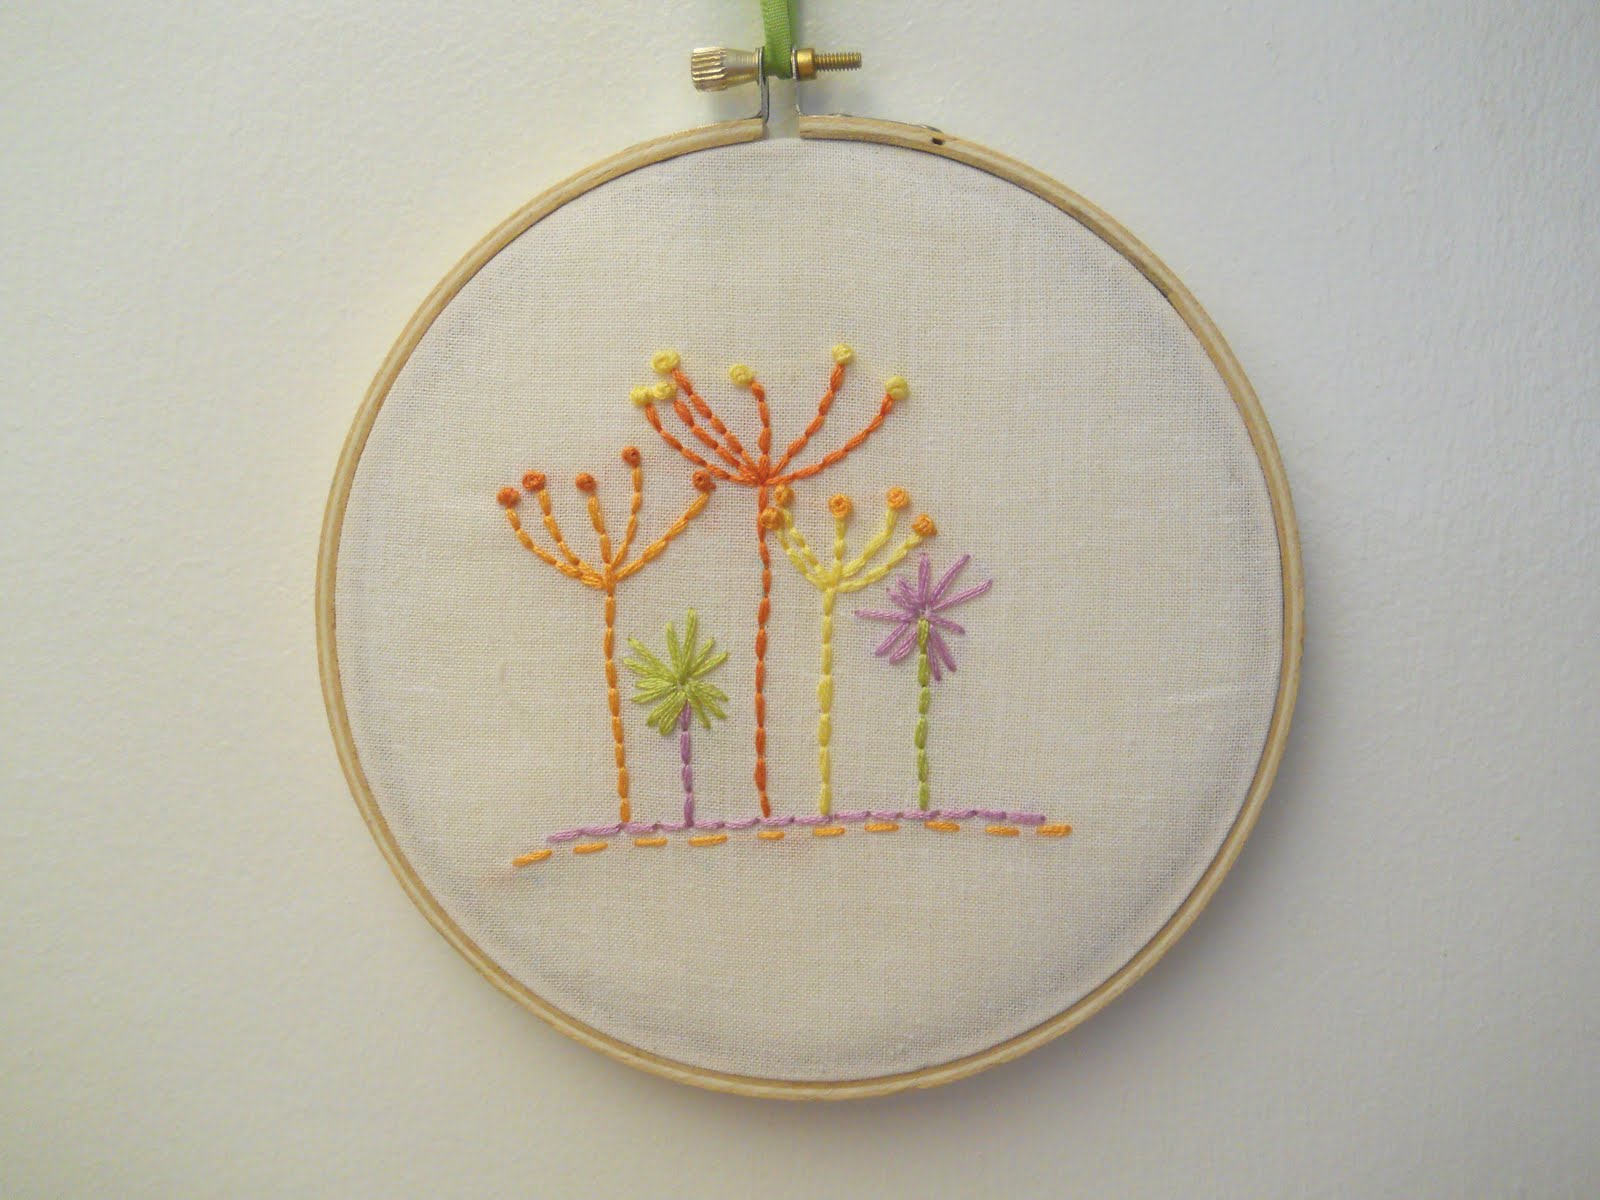
Here's an embroidery pattern, 100% designed by me, just for you! This pattern is for and is in honor of the Stitching Angels series over at the Split Stitch. Here's something to celebrate the fun with! :)
This embroidery pattern--Pretty Petals, uses basic stitches- The back stitch, running stitch, and french knot. The colors used for this pattern is DMC embroidery floss 3845, 727, 922, 3823, and 472. Bright, summery colors, don't ya think? :)
FOR PERSONAL USE ONLY
Go ahead and click on the picture above. Then you'll want to copy it and probably enlarge it on Microsoft (or whatever software you use) and then print it out. Enjoy! :)
Being a Stitching Angel was so much fun, I had a great time looking at the progress on everyone's embroidery pieces. You can see all the Stitching Angel posts here:

-HappyHands

Monday, August 1, 2011

DIY Cardboard Spools tutorial

I've been winding up some embroidery floss to take with me on a missions trip I'm going on next week (oh yeah, beware, I won't be here to blog next week. Just to let you know...). The kids there love to make friendship bracelets so I decided I needed a way to wind them up on a spool instead of just bringing them in their... before you wind them on a spool thing. Anyways, I didn't want the floss to get tangled because when there's knots that means less friendship bracelets and when there's less friendship bracelets there's less fun! I didn't have any spools around for me to wind the floss on so I decided I would have to get creative (hee hee) and think of something that would work. This is what I came up with-- an inexpensive cardboard spool. Now, that's what I call imagination. hee hee :)
So instead of keeping this idea to myself, I thought I would share this wimpy little tutorial on how to make your very own cardboard embroidery floss spool. Okay, here's what you'll need:
  • Cardboard
  • Embroidery Floss
  • Scissors

First, you'll need to cut out a square out of your cardboard. See picture below.

Then, cut two slots at the bottom of the spool towards the center. Don't cut too far up. See picture below as a guide.
Next, slide the end piece of the embroidery floss into one of slots. Now wind around.
And there you go! Your cardboard spool. :) hee hee
-HappyHands

Friday, June 10, 2011

Needlebook tutorial

I've always wanted to make a needlebook. Didn't know how, just stared at other people's needlebook images on my favorite blogs for inspiration. Yesterday, I finally decided to sew one up and instead of keeping it to myself, I thought I would make this a tutorial. Before we get started, here's a little tour of this needlebook. :)
When you first open this book you come across a pocket holding a pair of scissors and a fabric marker, as well the first page holding a few pins.
Flip the page and you come across some needles. I know, I don't have very many right now on the second felt page, but I'm working on my collection. :)
And on the very last page is another pocket filled with my "in waiting to be winded on a spool" embroidery flosses. :)
Okey dokey, now here's the tutorial! :)
What you'll need:
  • Fabric (2 different fabric)
  • Felt (one large piece for inside page, and two optional tiny pieces of grey and tan)
  • Velcro (I used the sew on kind)
  • Optional: Embroidery floss (I used colors 3347 and 3712)
  • Nessary sewing tools

Cut two different pieces of fabric 27 centimeters wide and 18 centimeters long. Cut the pocket fabric 4" wide and 5 1/2" long; cut two. Cut the velco 1 1/2" long.
Hem the pocket fabric 1 1/2" in. Pin down. Repeat with second piece.
Folding a little bit of fabric underneath pocket fabric long sides, pin down 2" or more from side of inside needlebook piece of fabric (you will need this space for sewing down velcro as well sewing the needlebook together). Sew on the inside needlebook fabric. Do not sew bottom of pocket fabric pieces; they will close when done in later intstructions.
Next, pin down velcro on either side of inside needlebook fabric piece's edge. Pin down in the middle of edge's strip and sew.
Cut felt 17 centimeters wide and 19 centimeters long. Center on inside needlebook fabric piece, pin down, and sew down the middle.
Optional: Cut out a circle from a piece of tan felt and cut out a spool shape from grey\silver felt. Center felt spool on circle and use the satin stitch to embroider on top of it.
On the right side of needlebook cover fabric, pin down felt spool design, and use the running stitch and embroidery floss to sew down.
Pin felt page down towards the center of fabric so during sewing it will not get sewed down.
Pin the two needlebook pieces together, pretty sides facing each other. Mark an opening about 4" wide where you will flip out the fabric once sewed.
Sew together. During this process, the bottom of pockets will be closed.
Once finished sewing, snip the corners to get smooth edges. Be careful not to cut the stitching.
Turn inside out using the 4" opening. Unpin felt page.

Sew opening closed.
Iron.
You're done! :) Now sit back and admire your work. :)
-HappyHands
*FOR PERSONAL USE ONLY*

Friday, May 27, 2011

Fox and Owl design

Do you ever have those days where there is one thing on your mind that you want to do? Well, that was me yesterday, and all I had on my mind was embroidery. :) Embroidery, embroidery, embroidery! So embroidery I did and I came up with this design of a fox and owl. I love how the fox turned out. He looks so sly while looking at the owl. :) hee hee Down below is the design so you can stitch one up too! :)
(I used DMC embroidery floss colors 351, 739, 420, 841, 801, 469, and 3348.) Enjoy! :)
-HappyHands

Thursday, May 26, 2011

Cupcake Pincushion

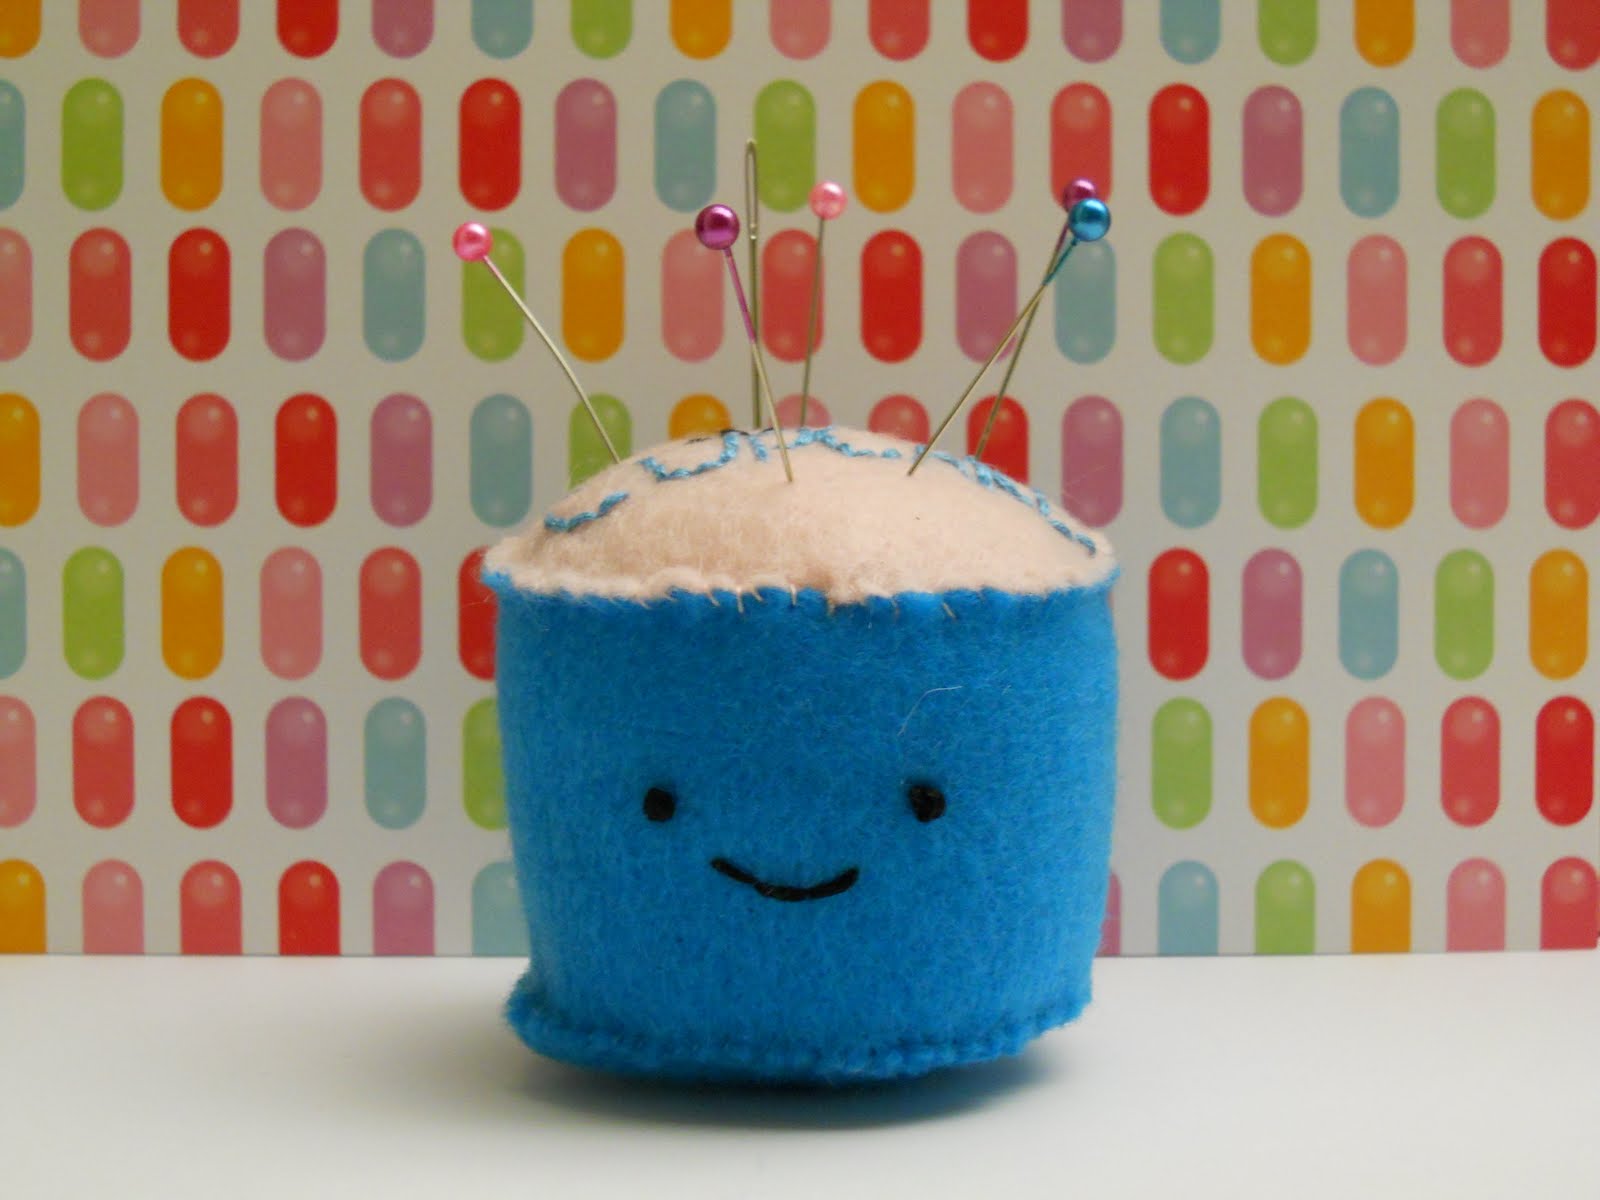
Today, I give you this cupcake pincushion project! This fella here is a sweet little pal to embroider and sew with (as well a great guardian of your pins and needles. :). Down below are directions on how to make one of your very own! :)
What you need:
  • Embroidery floss in dark pink, light pink, blue, and black. Or you can use color choices of your very own. (I used DMC embroidery floss colors 3712, 3713, 310, and 807.)
  • Scissors
  • Stuffing (you can use the insides of old pillows that don't have any use for anymore)
  • Needle
  • Pink and blue felt (or you can choose your own colors)

Preperation:

With blue felt, cut a strip 7 1/2" across and 2" high. This will be the "cupcake holder". With pink felt, cut one circle 2 1/2" inches across. With blue felt, cut one circle 2 1/2" across.

With pink circle, embroider "I [this is a shape] HEART CUPCAKE." Below, you can print the "I HEART CUPCAKE" design and transfer it to the pink felt to embroider on. Embroider the 'I' in black, the heart in dark pink, and the 'CUPCAKE' in blue. With blue strip, embroider with black floss a smiley face. You can use the very top picture as a guide.
Next, with blue strip use one ply of blue floss and sew together the ends. I used the whip stitch.
Using whip stitch, sew on the pink embroidered circle using one ply of the light pink floss on the top.
Turning cupcake upside down, use one ply of the blue floss and whip stitch the blue circle on the bottom. Once about halfway around, stuff the cupcake. Try to overstuff it a little bit so, once flipped back over, it will appear a "poofy" cupcake. :)
There you go! Your very own cupcake pincushion! I don't know about you, but whenever I see this happy cupcake, it just makes me smile. :)
-HappyHands
Related Posts Plugin for WordPress, Blogger...